High Dynamic Range Photography (HDRI) has become a major tool in photography and now is one of the best examples of quality digital photography.
HDRI is capable of producing a higher dynamic range of luminosity than normal shots. This is very important in that it helps to create a luminance similar to what the human eye can see. Our cameras are improving all the time, but not even the top models can match the quality of what we see through our very own eyes. With the help of HDRI, we move ever-closer to that capability.
Since our eyes are constantly adjusting and adapting to our environment, we see a different level of luminosity than a camera cannot detect. But HDRI closes this gap somewhat. It will help us to see shots in a range of lighting conditions that normally would produce a poor standard of image.
One example may be that you’re trying to take an indoor shot in dark conditions with very bright sunlight streaming through the windows. With a typical camera you’re exposure would either blow out the highlights or block up the shadows.
This is true for outdoors shots as well. Say you are deep in the forest with both bright sunlight streaming in at places along with deep, dark shadows. With a typical camera, the dynamic range would not support this variation so you would have the same issue of exposing for highlights versus shadows as in the previous example.
Is HDRI the ideal choice for a photographer?
Since HDRI is able to make a big difference on the kind of shot captured compared to normal imaging, some photographers still wonder if they can get by without it. But of course! You don’t have to use it. But if you’re hesitant, note that it is a lot easier than you think. Read on!
One thing to note about using HDRI is that it does allow for the ability to get an image with bright light and dark shadows to be as crisp, accurate and full as possible.
This is created by combining different exposures of the same shot. With a non-HDR camera, though, you would be left with a loss of detail due to the highlights and/or shadows overtaking the rest of the image.
There is a workaround however within Photoshop. When you’re in Photoshop go to File / Automate / Merge to HDRI Pro and you’ll now have the capability to merge several exposures of the same image into one compiled image.
So, with a non-HDRI camera you’ll want to use a tripod and remote shutter release so that each image is exactly the same. Then you’ll want to bracket exposures both several stop over and under. Once you have the digital images you take them into Photoshop and merge them with Photoshop’s Merge to HDRI Pro feature.
An HDRI camera works in a similar fashion. Typically you setup the camera to take sequential photos that bracket the exposures. Once you are finished shooting then you take these images into Photoshop and use the Merge to HDRI Pro feature.
Some cameras let you do the same thing inside the camera using the manufacturer’s software. You’ll need to experiment, however, to see whether in-camera HDRI or outside of camera using Photoshop works best for you.
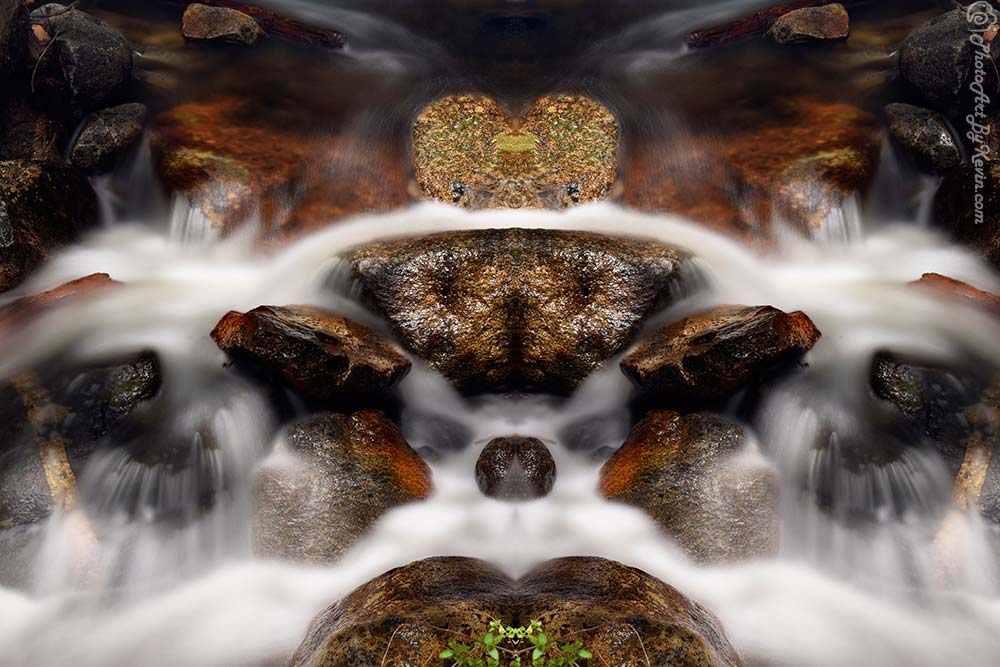
For me, personally, I like to use the HDRI technique on waterfalls in order to capture a dreamier look of the falling water. I use a long exposure to start (for the dreamy look), then bracket the photos up and down and then bring them into Photoshop for the HDRI merge.
One of the main reasons why I recommend that you should take a look at HDR shots, then, is when you cannot get an optimal kind of image without it. If too much detail is being lost in the highlights or shadows, then you might attempt to use HDRI to ensure the shot is as clear and as precise and has as big of a dynamic range as is possible.