Posted on

Rule of Thirds in Photography

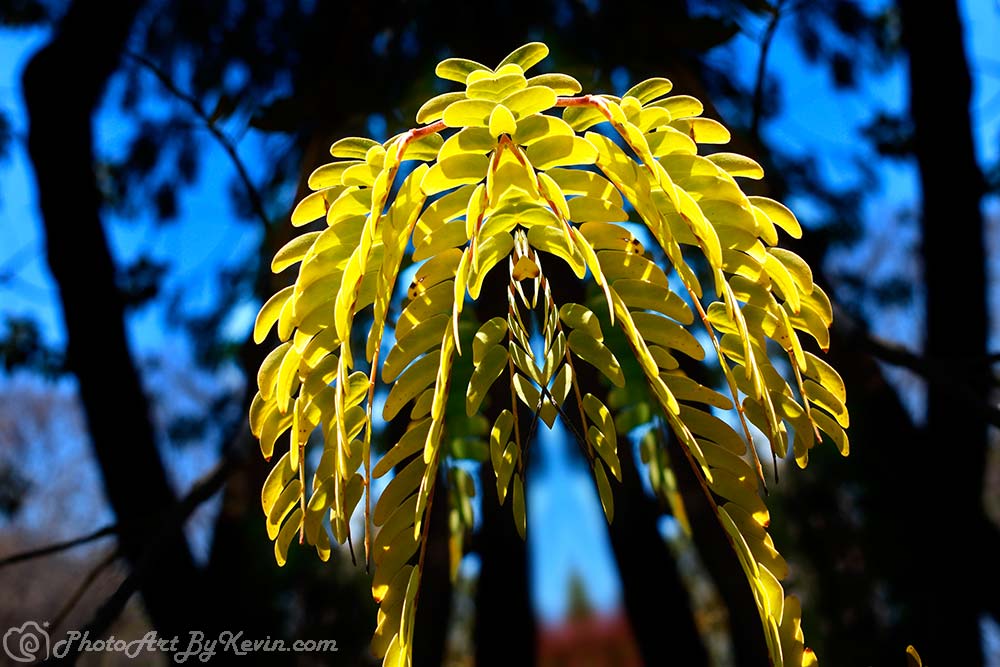
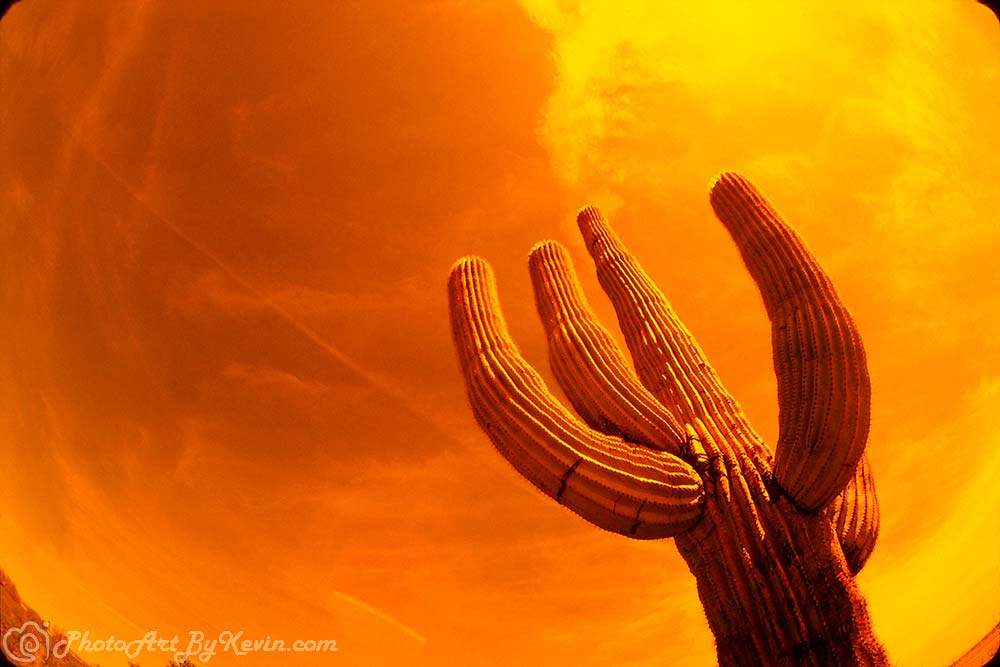
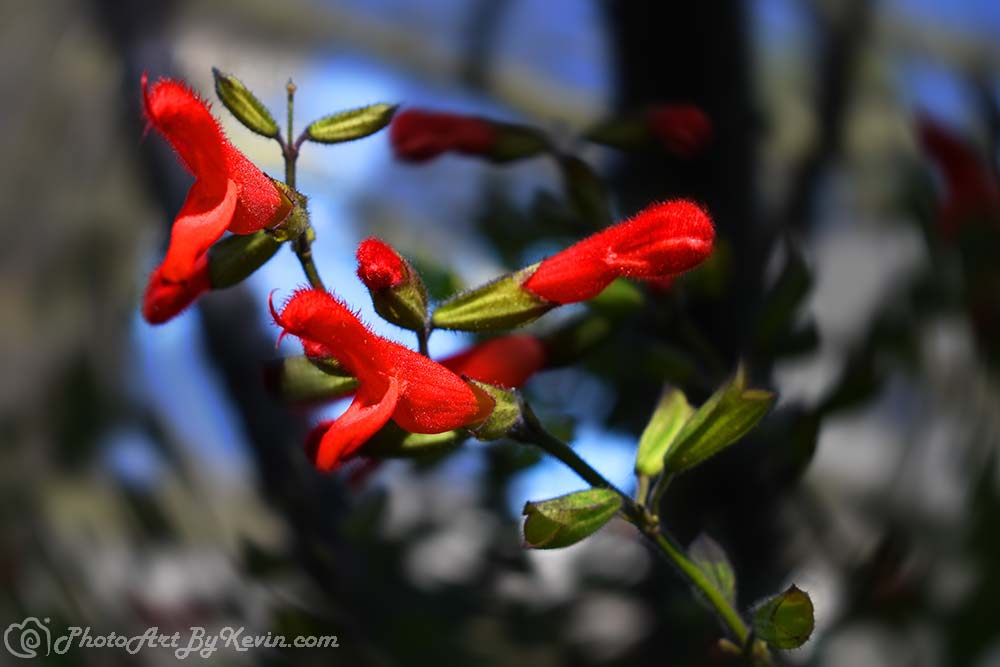
Flower Red Dragon Characters Fullerton

While it might seem like a rule-free environment, photography has some rules to follow for better quality work. One of the rules to learn when it comes to taking quality photos is the Rule of Thirds. This is an interesting concept of which many photographers might not be aware. The Rule of Thirds is the concept of dividing up your photographic image. You do this by placing two imaginary horizontal lines and two imaginary vertical lines across the image.

By doing this, you can then put key elements of the photo of the scene into each of these ‘boxes’ being created. This “gridded” kind of art allows for you to create a much more authentic composition. Off-center photographic compositions might seem counter-intuitive, but they can be more eye-catching than many people realize.

Trying to always frame your focal point right smack bang in the middle of an image is not always possible, either. It tends to look more natural, less forced, if you manage to make the image sit away from the center. Middle-framed imagery with an obvious central focal point is, dare we say it, how most snapshots are made.

That’s why the Rule of Thirds is so useful to anyone looking to make less mechanical photography. It will also give you some good ideas about utilizing negative space, which can be used to help make your images look far more interesting and unique.
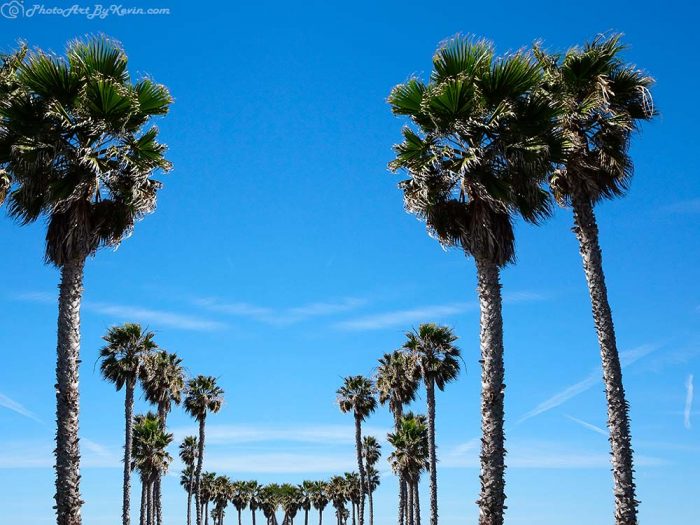
Circle of Trust Trees

Using the Rule of Thirds

To use this to your advantage, you need to first understand what it is that you are doing with the image in the first place. when you are framing the photo using the grid lines we suggested and taking the time to evaluate the photo. What elements of the photo are likely to be the most important in terms of design? Of theme? Of the kind of message that you wish to send out and portray here?

If you can get that right then you are almost certain to be left with a top quality image you can enjoy looking over time and time again.

Your grid lines don’t have to be identically lined up either. Some photos won’t be so easily sliced up into the 9 sections. Instead, try and look to make sure that your photo elements which are most important are near the lines and intersections. While it’s not always possible, it’s a decent general rule.

This might mean moving around and taking photos again to try and get the best composition when you use the Rule of Thirds on them. This is going to help you turn many photos into more effective images than it was before, though.

Some newer cameras can even put the RoT for you onto the photo itself. This helps you to get the positioning right on in terms of creating innovative, exciting, fresh photography.

Is it easy? Yes and no. Breaking old habits is not easy. But, with a bit of planning, though, you can use the Rule of Thirds to really change up how your photographs come out. Experiment with it – you will be pleased at just how useful this can be.

Posted on

Under Exposure Versus Over Exposure

Out of the Mist

Photography is a unique and challenging form of art. To get it right, you often need to have both the right tools and the suitable techniques. However, as we all know, it’s not often quite so easy to get both of those attributes to line-up. If you are tooled up but lacking in technique, one part of photography I ask you to work is under exposure versus over exposure.

Many photographers are either oblivious to this, or don’t really know where to start. Exposure is a top priority photography, as it determines how much light is going to be allowed into your photo. The camera, on auto-exposure, often decides the best form of exposure, but it won’t always get it right. If you wish to make your picture as perfect as can be, you might wish to adjust the exposure yourself. What, though, does this actually mean?

The first thing that matters is the metering mode of your camera. This is the way that your camera decides how much/little light to let into the picture. This adjusts aperture, shutter speed, and ISO to make sure you get the right combination.

Under Exposure

So, under exposure (or low key photography) is most commonly used when you wish to generally minimize how much light is able to get into the picture. Under exposure means that you want to go for something with less light than the average. That would be suitable for a lot of images, mostly during the day when you might feel like you already have too much light ruining the image. For instance, I like to use low key photography when shooting in the deep woods of Yosemite.

By making your image darker, it may make the photo a bit easier to spot in terms of minor details that you believe are important to the final picture. You should try and adjust your exposure compensation when using under exposure during the day. It might give you a clearer chance to land the shot that you were hoping to get.

However, remember that under exposure can lead to some issues and it might make your photo too dark to see key details. However, you can always lighten up a photo that is too dark in editing (such as using Photoshop’s Raw feature). When the photo is too light, making it darker via editing can lead to some details disappearing.


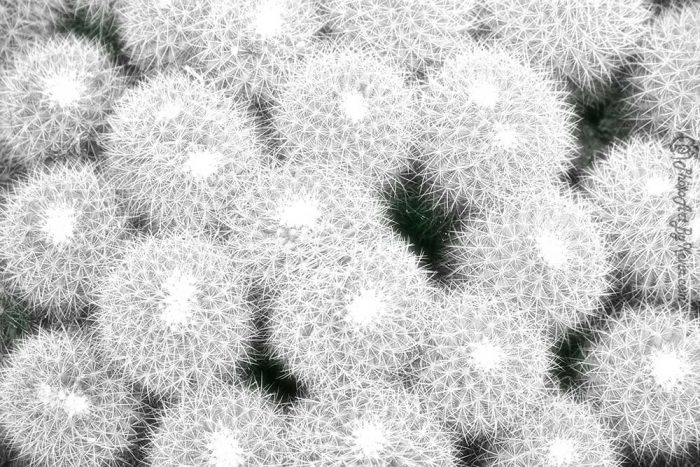
Mysterious Albino Cactus

Over Exposure

Over exposure (or high key photography) can used when you are shooting at night and don’t have enough natural light to make the image stand out naturally or when you are shooting directly at the sun or when you want to “wash out” a scene. You might wish to think about using over exposure when you perhaps lack natural lighting or you are working without much natural light at all. It’s great for grabbing photos in places that might not produce much natural brightness, such as locations underground.

It’s a tough thing to get right, but with exposure compensation you simply need to get used to playing around with your dial. Get used to looking around the various options, and trying out photos at both balanced exposure and over/under exposure. In time, it can have a very positive and lasting impact on your photography capabilities.

Let there be light! ?

Posted on

Fun with Photography Filters and the Call of Nature

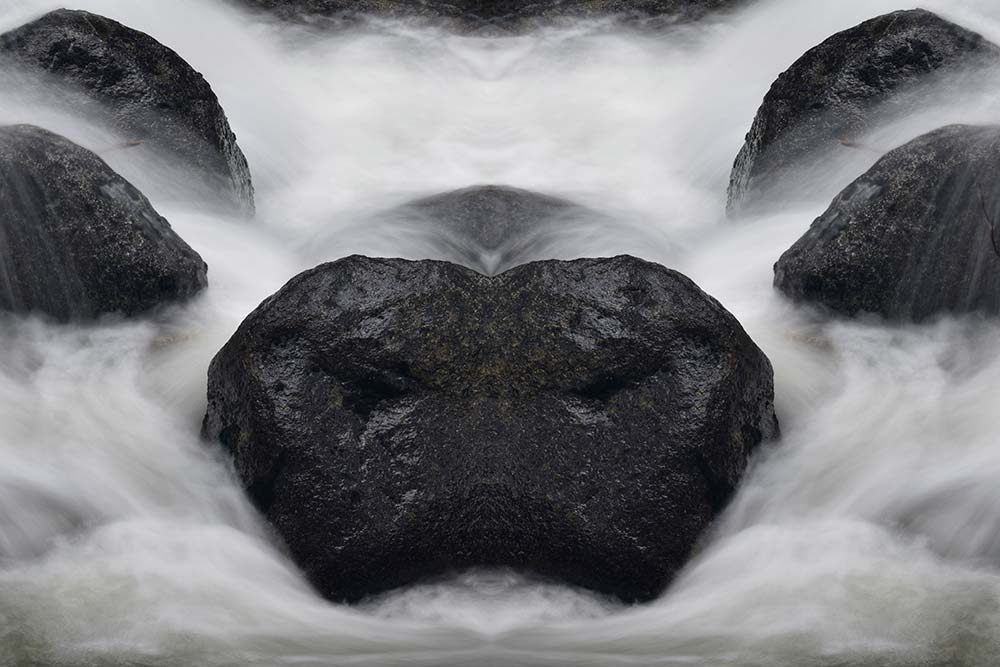
Psyche Rock Waterfall

The usage of filters can be a great way to add life and energy into a project. You might wish to take a look at the kinds of photography filters that you can use for nature shots in particular. Here are some ideas to help you make a more positive choice of filters, from polarizers to graduated to neutral density filters.

Reduce reflections using polarization

A common problem with nature-specific shots is that you might have problems with reflections (especially water shots). Reflections can make it hard for the photo to have a clear focus, creating too many points of reference to be truly enjoyed by the viewer.

Instead, using a polarizing filter and you can help to reduce the impact of the reflections. This will make sure that wet ground and rocks can look more natural and thus stand-out. It also means you may be able to see into the water with more depth than if you simply had a skylight filter on your lens.

Polarize the sky

A good way to use a polarizer is for the sky. A polarizing filter is a brilliant way of making the sky really stand out, as it allows for you to darken the sky and add contrast between it and the clouds.

In addition, a polarizer will help to reduce the impact of the haze and leave the sky looking beautiful and blue once again.

You could also look to use a graduated filter to help make the sky look a bit more powerful. If you feel like the sky is too bright and washed out, then a graduated filter will help to make sure the sky is a bit darker and more striking and leave the rest of the scene and exposure intact.

Neutral density filters for motion

When you want to take a photo of a sky above a landscape, for example, you might wish to capture the idea of the day passing by. Motionless clouds can make that harder to showcase, which is why using a neutral density filter can be useful if you wish to change that. By using this kind of filter, you can leave the shutter open a longer time and the clouds will have a dreamier looks as a motion blur will occur in while leaving the landscape sharp and motionless.

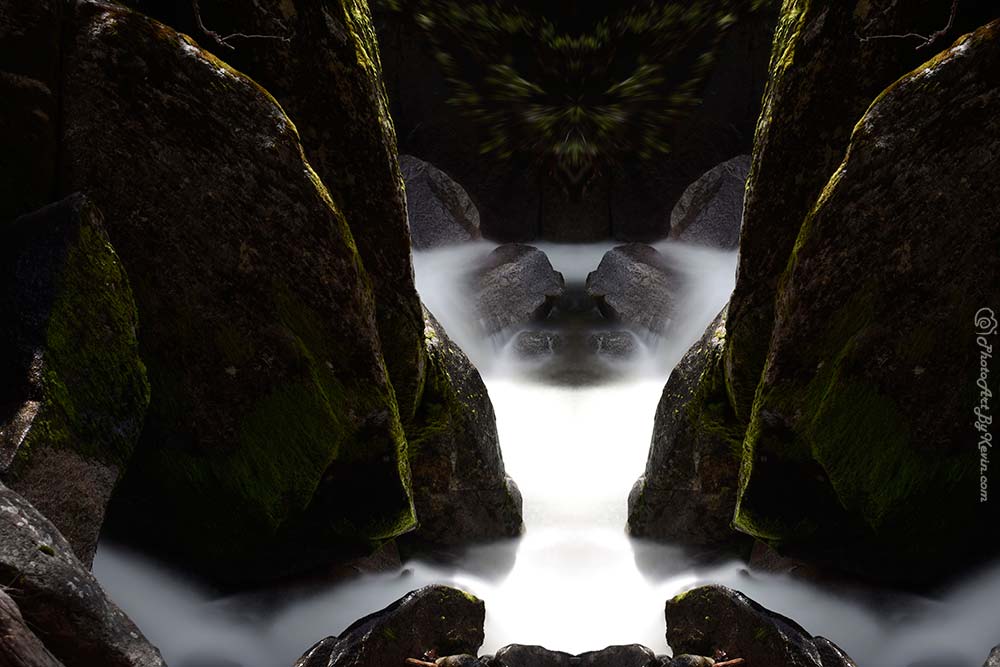
One of my favorite ways to use a neutral density filter, however, is with moving water such as a stream or a waterfall. If you’ve looked through the images on my website or Instagram account you’ll see many “dreamy” waterfalls and streams where I’ve used a neutral density filter and left the shutter open for a second or more.

Like many other photographers, I enjoy this effect even though it usually means I have to schlep my tripod into the deep woods and crawl over boulder, trees and whatnot in order to get a premium shot.

These simple little tricks, I’ve outlined, can be used to help make nature photography a bit more beautiful. Given the importance of the sky and water when it comes to creating nature-specific photography, this should help you to make it look darker, brighter, or more in-motion, whatever you feel your project needs. Now, put on a filter and get out there – nature is calling!

Posted on

5 Solid Reasons to Use a Tripod in Photography

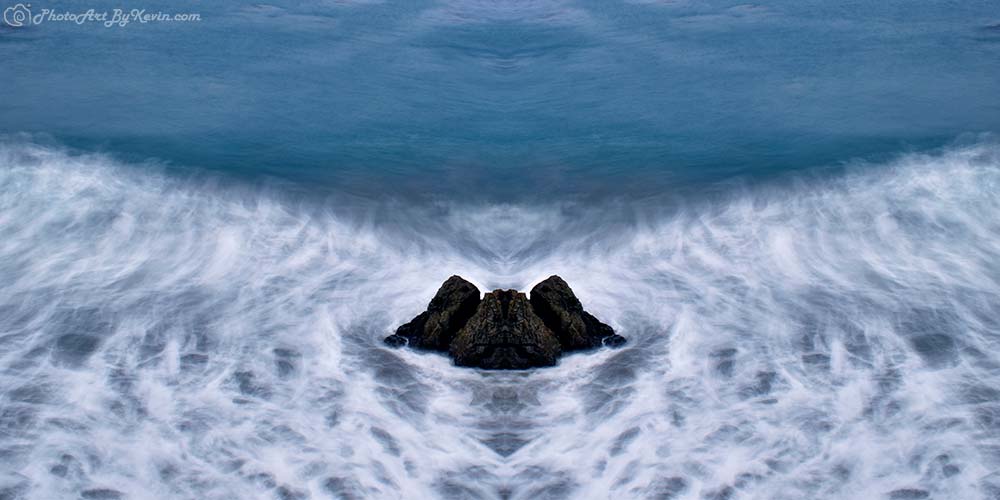
Port in a Storm

For any photographer, such as myself, one of the most important things that you can do is invest in the right kind of equipment. Good quality photography equipment is a key part of being in business, and it’s one of the main reasons why you should always look to use a quality, sturdy tripod. A tripod, for any modern photographer, is going to be a make-or-break piece of equipment. If you own a tripod, then you can take shots that normally you would not have had the capacity to land. Why, then, do you need a tripod?

1.      Tripods improve your accuracy

When you are trying to take a shot, the aim, most of the time (unless you’re into motion blur) is to get it as smooth and as shake-free as is possible. However, even the steadiest of hands might struggle with getting the perfect shot especially at slower shutter speeds such as 1/125 of a second and below. A tripod helps to add the accuracy that you need, getting rid of those human hand-shakes and jitters that could remove quality from your shot.

2.      Tripods limit human error

By using a tripod, too, you can make sure that human error problems such as leaning too heavily on the camera or not having a steady enough position will become a thing of the past. Now, you can easily make the shot come to life and you can ensure that you are left with a shot that feels right, and is a suitable location for you to take your shot from, removing the impact of human error (and as a human filled with error I can personally vouch for this!).

3.      Tripods improve your shot variety

When you have a tripod, it’s often easier to get shots from angles that you would simply never have shot from on your own. This can allow for you to add more variety and quality to your work, ensuring that you can be a bit more unique and creative with the kind of shooting that you do.

If you find that you are too rigid and regimented with the kind of shots that you take, then this could be an easy problem to solve if you were willing to put in the time. Tripods, then, should definitely be used if you want to make your shots more varied.

4.      Tripods will always deliver a crisper image

Thanks to the ability to shoot without the elements and the geography getting in your way, a tripod allows for the crispest shot possible, especially at low shutter speeds. I like to shoot waterfalls and the ocean rolling into the beach using a tripod, and a lens set to F22 and a slow shutter speed. Sometimes I’ll use a neutral density filter to increase the exposure time and to get a dreamy look for the water. This means a sturdy tripod is essential as exposures can last several seconds. Without a tripod my dreamy water would become shaky water!

5.      Using a tripod will make you more confident

By the same token, a good photographer will want to use a tripod as it helps them to land the shot that is going to be as accurate and as effective as is possible. This leaves you with a very impressive, intricate shot that is almost certain to come out exactly as you would have intended.

For that reason, many photographers will choose to buy a quality, sturdy tripod as it will make them a more confident, accurate shooter.

Posted on

Basics of High Dynamic Range Photography

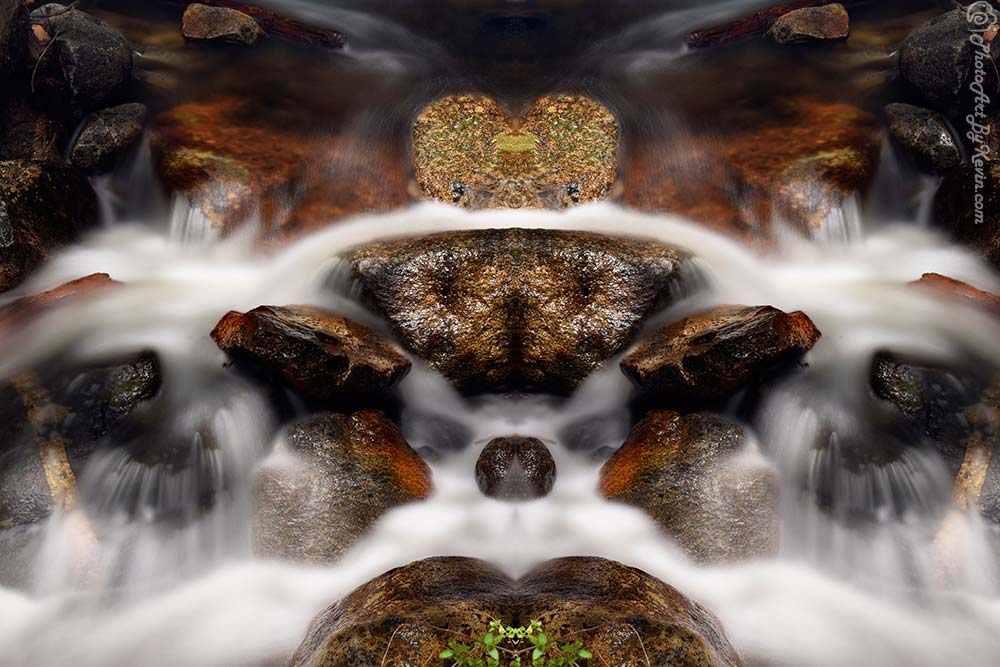
Waterfall Fable

High Dynamic Range Photography (HDRI) has become a major tool in photography and now is one of the best examples of quality digital photography.

HDRI is capable of producing a higher dynamic range of luminosity than normal shots. This is very important in that it helps to create a luminance similar to what the human eye can see. Our cameras are improving all the time, but not even the top models can match the quality of what we see through our very own eyes. With the help of HDRI, we move ever-closer to that capability.

Since our eyes are constantly adjusting and adapting to our environment, we see a different level of luminosity than a camera cannot detect. But HDRI closes this gap somewhat. It will help us to see shots in a range of lighting conditions that normally would produce a poor standard of image.

One example may be that you’re trying to take an indoor shot in dark conditions with very bright sunlight streaming through the windows. With a typical camera you’re exposure would either blow out the highlights or block up the shadows.

This is true for outdoors shots as well. Say you are deep in the forest with both bright sunlight streaming in at places along with deep, dark shadows. With a typical camera, the dynamic range would not support this variation so you would have the same issue of exposing for highlights versus shadows as in the previous example.

Is HDRI the ideal choice for a photographer?

Since HDRI is able to make a big difference on the kind of shot captured compared to normal imaging, some photographers still wonder if they can get by without it. But of course! You don’t have to use it. But if you’re hesitant, note that it is a lot easier than you think. Read on!

One thing to note about using HDRI is that it does allow for the ability to get an image with bright light and dark shadows to be as crisp, accurate and full as possible.

This is created by combining different exposures of the same shot. With a non-HDR camera, though, you would be left with a loss of detail due to the highlights and/or shadows overtaking the rest of the image.

There is a workaround however within Photoshop. When you’re in Photoshop go to File / Automate / Merge to HDRI Pro and you’ll now have the capability to merge several exposures of the same image into one compiled image.

So, with a non-HDRI camera you’ll want to use a tripod and remote shutter release so that each image is exactly the same. Then you’ll want to bracket exposures both several stop over and under. Once you have the digital images you take them into Photoshop and merge them with Photoshop’s Merge to HDRI Pro feature.

An HDRI camera works in a similar fashion. Typically you setup the camera to take sequential photos that bracket the exposures. Once you are finished shooting then you take these images into Photoshop and use the Merge to HDRI Pro feature.

Some cameras let you do the same thing inside the camera using the manufacturer’s software. You’ll need to experiment, however, to see whether in-camera HDRI or outside of camera using Photoshop works best for you.

For me, personally, I like to use the HDRI technique on waterfalls in order to capture a dreamier look of the falling water. I use a long exposure to start (for the dreamy look), then bracket the photos up and down and then bring them into Photoshop for the HDRI merge.

One of the main reasons why I recommend that you should take a look at HDR shots, then, is when you cannot get an optimal kind of image without it. If too much detail is being lost in the highlights or shadows, then you might attempt to use HDRI to ensure the shot is as clear and as precise and has as big of a dynamic range as is possible.

Posted on

Top 7 Tips for Fantastic Nature Photography

Jellyfish Plant

The world is a beautiful place, and being able to capture that beauty is a unique skill for photographers. Whether you’ve caught an amazing flock of birds flying off from a pond, or you’ve found an awesome scene of animals looking after their young, or an intense and exotic flower with perfect, natural lighting there’s much beauty in this world. If you want some help in capturing cool photos, though, I’ve got some great ideas for you below.

These will, in time, make it much easier for you to get the photo you want. So, what, you ask can make your nature photography even better?

Don’t expect greatness to appear obvious

The first thing you need to have when shooting nature photography is the speed of thought to take action. An amazing photo can just appear in front of you so you need to be ready to hit the shutter and get a shot of it. Many people miss the most amazing shots simply because they are not ready.

Keep your hands on your camera at all times. It’s the difference between getting a great shot or messing it up.

Have a variety of lenses

When you are shooting in nature, you need to have a good range of lenses to pick from. Make sure you bring a wide-angle lens when you are taking shots of landscapes. For more close-up shots, make sure you have a macro lens in the bag. For wildlife you’ll want to have a fast telephoto lens at your disposal.

This often goes a long way to making sure you can get the correct shot.

Make the most of filters

Photography filters are a very powerful tool when you use them right, and they can make a huge difference to your portfolio. With a filter, you can really make sure that your photo stands out. Make use of neutral density filters when taking landscape shots, and use polarizing filters to keep the sky from being too much of a focal point in a shot.

Filters are great for making sure the part of the picture that stands out is the part that you intended.

Use the foreground

Many people shooting in nature forget to make the most of the foreground. Foreground quality is an important part of making the photo a bit more impressive and ensure it stands out. Get more foreground shots, as many of us spend too long using the background as our main tool. A quality front and center foreground will make a huge difference to the image, giving it an obvious focal point that stands out.

Capturing movement

If you’re taking still life photos in nature, movement is a dynamic feature one can add to the shot to make it more interesting. For instance, I love taking waterfall photos as you can see from my gallery. And to make the water look soft and ethereal I use a slow shutter speed and a sturdy tripod. The same technique can be used to capture trees with blowing leaves and other combinations of moving and non-moving natural objects.

Consider the Light

If you’re walking through the forest or a field of flower or wherever you happen to be in nature, consider the light. Where is the sun and how is this impacting your natural subject? Sometimes I like to backlight flowers and plants with the sun. Sometimes I prefer different angles. When walking through a forest, I also looks for all of the interesting lighting patterns that emerge. Be ready with your camera and tripod as these pattern can change very rapidly.

Take the Road Less Travelled

It’s true that many of us take the easy path when photographing out in nature. There can be a “pack mentality” whether it’s on a nature trail or in an arboretum to take the same photos as everyone else.

Photographic satisfaction, at least for me, comes from doing something different than everyone else and trying to see something differently. Yogi Berra once said, “When You Come to a Fork in the Road, Take It.” I say, when you come to a fork in the road take the road less travelled.

To recap, nature photography is rewarding whether you’re selling your images to a magazine or posting them on Instagram for your friends and family to see. Hopefully, the above tips will help you make your images a bit more interesting and engaging.

Posted on

Finding Your Style in Photography

Dry Heat Cactus

Photo Art starts out as photography which is then enhanced in the digital darkroom. Let’s talk about the first step, photography.

As a beginning photographer, it is a common worry that you are having a hard time finding your own sense of style. It’s an issue that can leave you flummoxed as to how to find your place in the photo world. In such a thriving industry, with so much competition, it can be quite disheartening if you are creating photos (and photo art) that looks like what everyone else is doing.

In this article, though, I will try to help you find the best way to thrive.

Your style is equal to your values

First off, remember that your style is going to be applicable to how you view the world. For example, you might be someone who enjoys taking photos of real life moments. Some like to use photography to raise awareness for societal problems, such as poverty. Others use it to show people the true world that waits for us outside of working hours. Or others, like me want to show off nature (or at least an abstract, fantastic or surreal version of it).

Whatever you value in life, you can use that to define your style of photography. Are you someone with a burning sense of injustice? Do you want to help others see, in real terms, the reality of life for many of us? Or would you like to convey a since of wonder and escapism?

Once decided, your photography should maintain that kind of focus. Style is not necessarily the angles you shoot from or the kind of lens that you use. It’s about the kind of imagery that you want to put out in the world.

You’ll find your style through personal inspiration

Many high-level photographers find that their styles comes from a place of personal change and inspiration. For example, you see a scene on the street or a seashore that is powerful and profound that it makes you want to immediately take a shot. That gives you a sense of energy, and it will drive your desire to shine a light on that particular moment.

This is how many photographers manage to find their style. It’s not always about what is profitable or what is easy to shoot. They (myself included) find something that stirs their emotions and brings them to the very peak of creativity.

Your style is not going to come from only looking through a book of ideas. It’s going to come from something catching your eye (or your mind’s eye) and making you know that this is what excites you beyond all else.

Creativity is such a powerful feeling, and one that can drive you to higher levels. As a photographer, then, your personal style will be driven by your individual values and your ability to find something that genuinely shakes you into action. You won’t find the answer to what your style is anywhere else but within your own mind, heart and personal vision.

So, what are you waiting for – get that camera clicking!